The Geofences Management page is designed to help you create, edit, and manage geofences efficiently. The page is divided into two main sections: the Map and the Geofence Panel. Below is a detailed guide on how to use this feature.
Geofence Panel
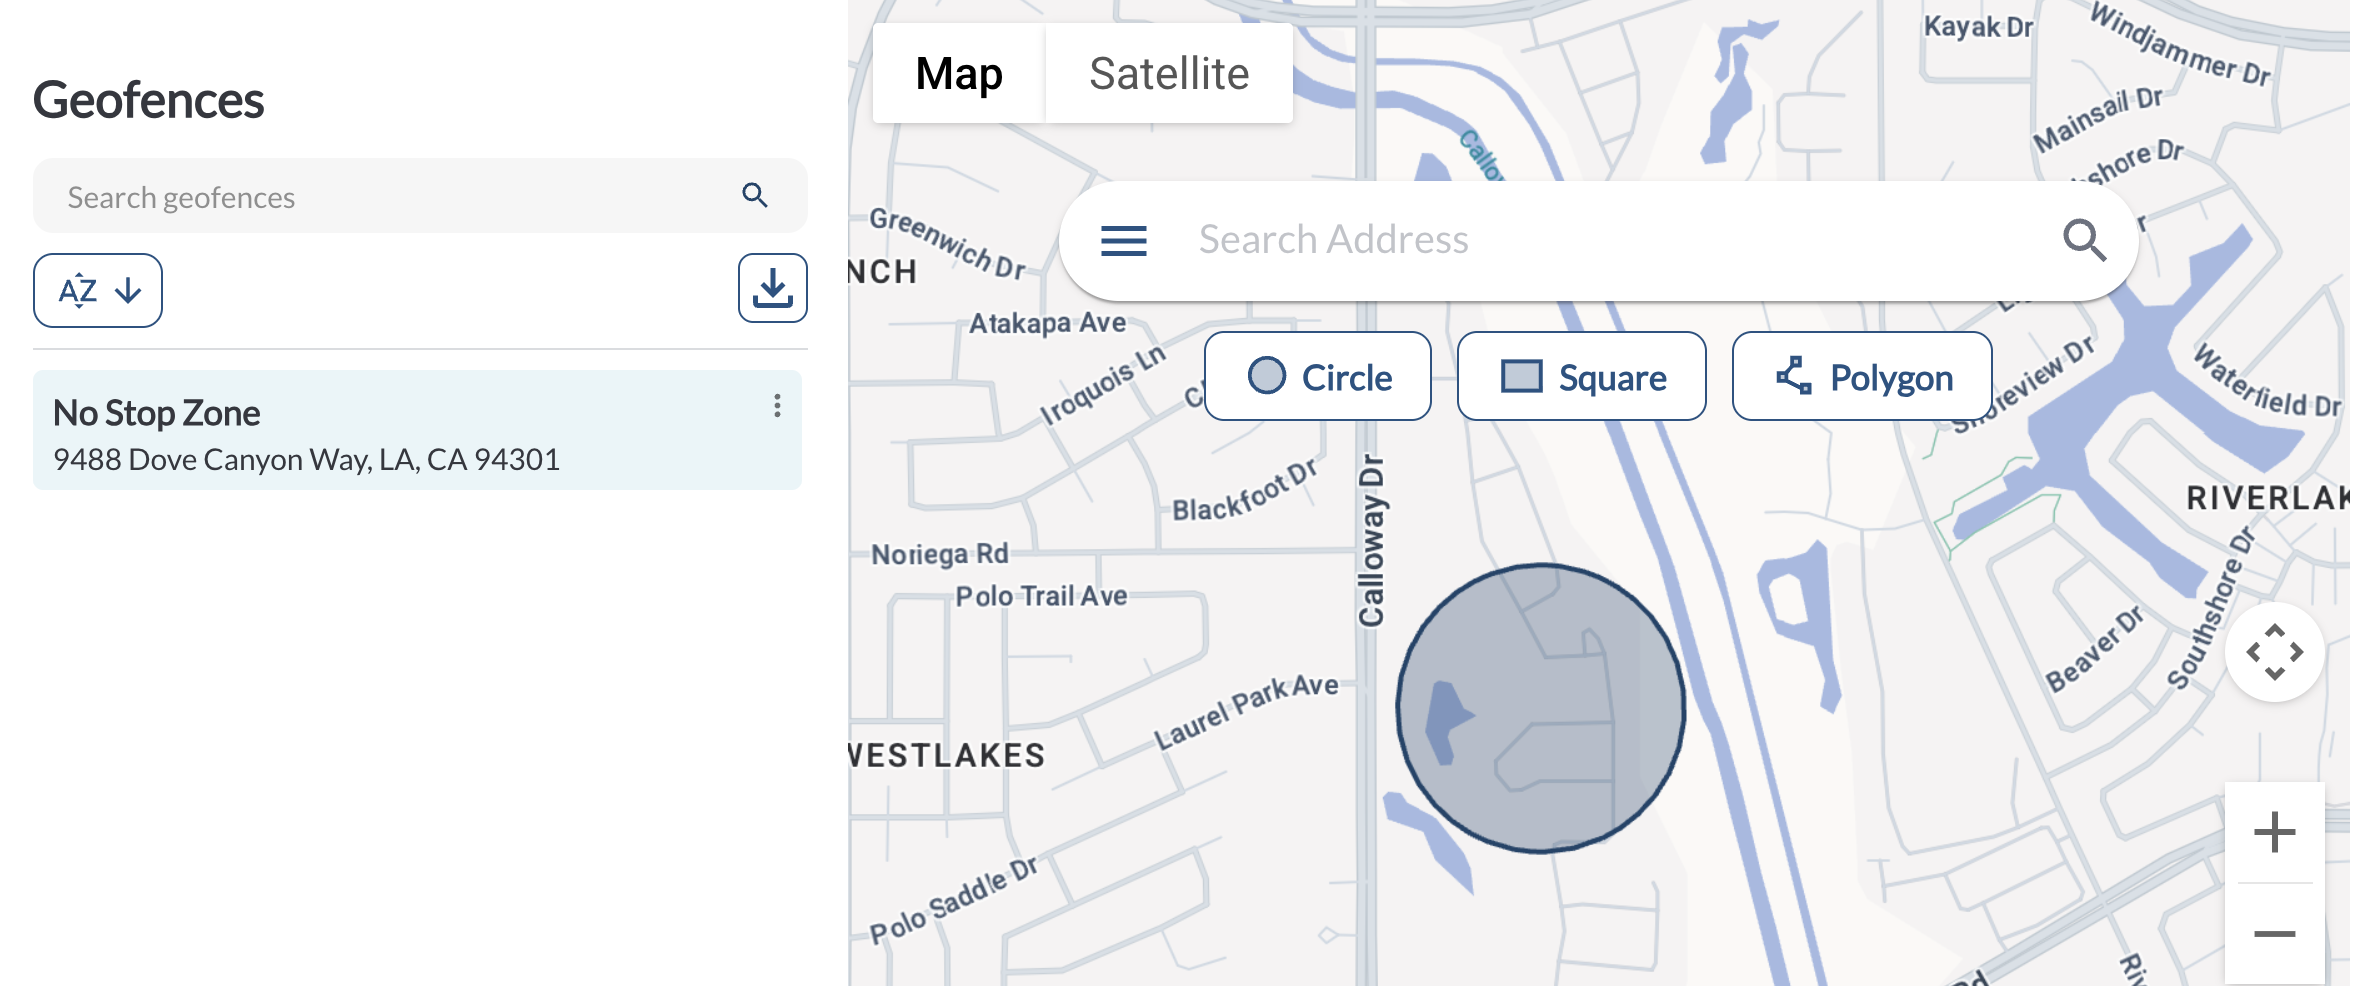
The Geofence Panel provides an organized list of all existing geofences and tools to manage them effectively:
Map Section
The Map Section is where you create geofences. You can choose from three geofence shapes and interact with the map to define their boundaries.
1. Select a Shape
Choose one of the following geofence shapes:
2. Set the Location
Adjust the map's zoom level to locate your desired area, or use the search bar to find a specific address.
3. Draw the Geofence
Use the map tools to define your geofence boundaries.
4. Saving and Naming a Geofence
Once the geofence is drawn, the name setting will appear in the Geofences Panel. Enter a name in the designated field and click Save to finalize.
Adding Geofences in Bulk
The bulk upload feature allows you to add multiple geofences to the Fleet Portal at once using a CSV template. This eliminates the need to create geofences one by one and saves time when setting up large numbers of locations.
How to Upload Geofences in Bulk
- Navigate to the Geofences page in the Fleet Portal.
- Click the Upload CSV button.
- Fill in the template with your geofence details.
- Upload the completed file and click Submit.
Template Fields
| Field |
Description |
| name |
The name of the geofence |
| address |
The address of the geofence location |
| type |
The shape type of the geofence (e.g., circle, polygon) |
| radius |
The radius of the geofence in meters (applicable for circle type) |
| coordinates |
The GPS coordinates that define the geofence boundaries |
Note
Always use the provided template when uploading geofences in bulk. Uploading a file with missing or incorrectly formatted columns may cause the upload to fail.