How to Create a New Schedule
To add a schedule, click +Create Schedule on the Schedule tab. You’ll be guided through a simple 3-step wizard.

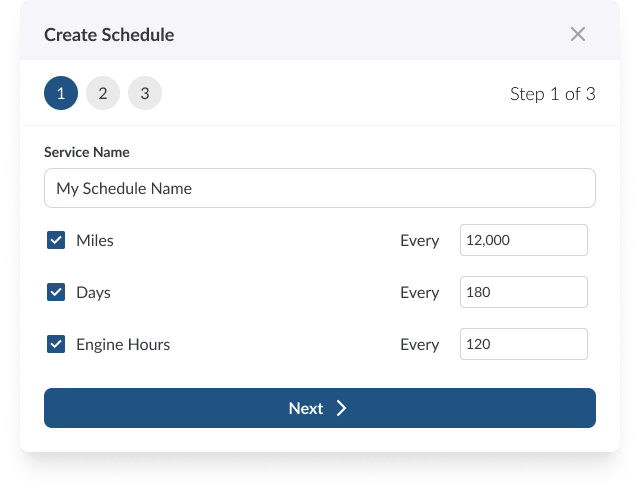
Step 1: Set Up the Schedule
Define the basic configuration of your maintenance schedule:
Schedule Name – A clear, descriptive name (e.g., “Oil Change”)
Intervals – Choose at least one:
Miles – e.g., every 5,000 miles
Days – e.g., every 90 days
Engine Hours – e.g., every 250 hours
For each selected interval, enter the numeric value that defines how often the service should occur
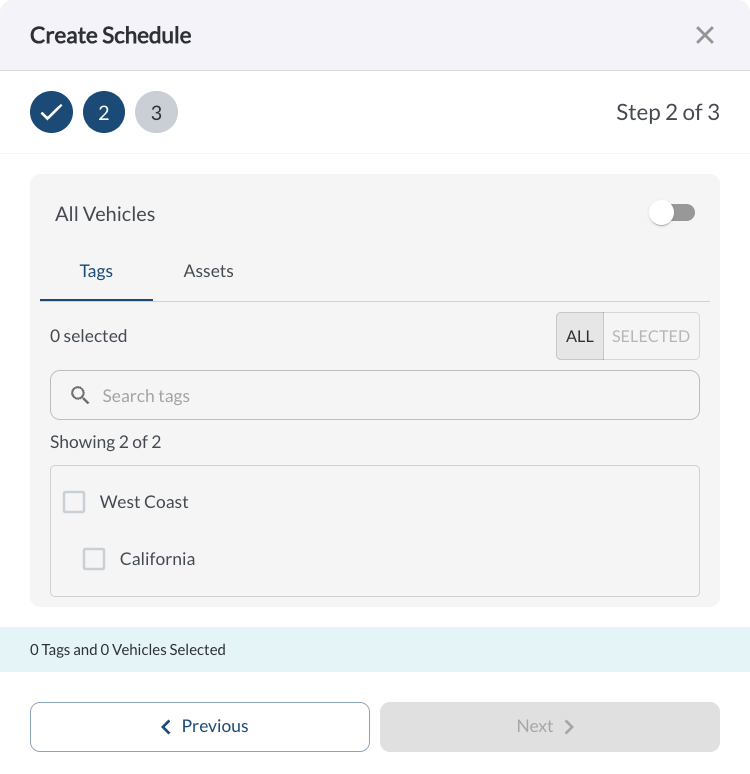
Step 2: Assign assets
Decide which assets this maintenance schedule should apply to.
If you want to assign the schedule to specific assets only, disable the toggle to reveal selection options. You can then manually choose individual assets or filter by tags (e.g., “Heavy Duty”, “California Region”) to apply the schedule more precisely.
Step 3: Provide Last Service Details
In this step, you’ll enter the most recent service information so the system can calculate when the next service is due. The number of tabs shown depends on the intervals selected in Step 1:
If only one interval was selected (e.g., Miles), a single tab will appear.
If multiple intervals were configured (e.g., Miles + Days), each will have its own tab with the appropriate input fields.
Here’s what each tab includes:
Note
You’ll only need to enter values for the intervals used in the schedule.
This keeps the schedule accurate and helps calculate the next due service.
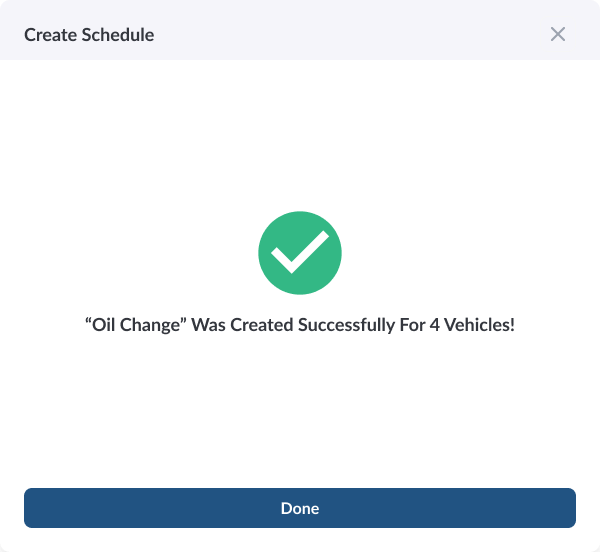
You’re All Set
Once you’ve entered the last service data, click “Save” to complete the schedule setup.
The new maintenance schedule will now appear in the Schedule tab, and upcoming services will automatically be calculated based on your inputs. Assigned vehicles will begin tracking toward their next due maintenance based on real-time odometer, engine hours, and calendar data.
How to Edit or Delete a Schedule
Go to the Schedule tab.
Click the (⋯) menu next to the schedule you want to update.
Select Edit to modify the schedule using the same 3-step wizard.
Select Delete to permanently remove the schedule.
Warning
Deleting a schedule is a permanent action and cannot be undone.