The Trips page provides tools for monitoring, analyzing, and managing your fleet’s trips. This article explains the features and options available on this page.
Trips Details
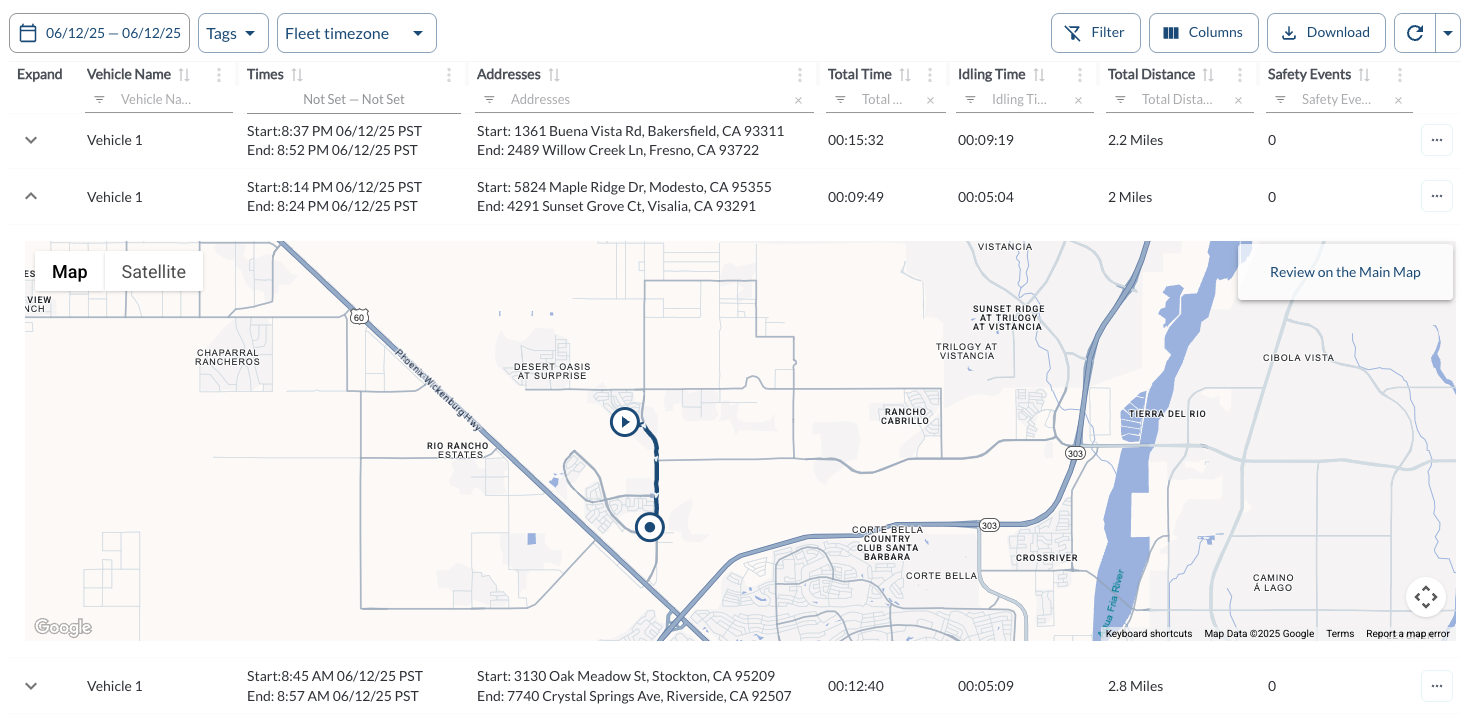
The table displays all the fleet's trips, allowing you to efficiently organize and access trip details. It supports downloading, sorting, filtering, resizing columns, and other customization options. For a complete guide, refer to the article How to Use Tables in the App.
The table includes the following columns, each providing specific trip information:
Expand |
Allows the user to expand the trip row to view additional trip details |
Trip ID |
A unique identifier for the trip |
IMEI |
The identifier of the LytxOne Gateway (LX1-G) device used for the trip |
| Vehicle Name |
Displays the name of the vehicle associated with the trip |
| Status |
Indicates the current status of the trip:
-
Completed: The trip has finished
-
In Progress: The trip is currently ongoing
|
| Times (Start, End) |
Shows the start and end times of the trip |
| Addresses (Start, End) |
Provides the starting and ending addresses for the trip |
Start |
The latitude and longitude coordinates of the trip’s starting point |
End |
The latitude and longitude coordinates of the trip’s ending point |
| Driver |
Displays the name of the driver assigned to the trip |
| Total Time |
The duration of the trip from start to end |
| Idling Time |
The total time the vehicle was stationary with the engine running |
| Total Distance |
The total distance traveled during the trip |
Safety Events |
Number of safety-related events during the trip |
| Geofences |
The names of any geofences the vehicle crossed during the trip. |
| Tags |
The tags associated with the vehicle. Tags can be added and managed in the Settings Page. For more details on how to create and assign new tags, refer to the article Tags Settings. |
Start Odometer |
Odometer reading at the beginning of the trip |
End Odometer |
Odometer reading at the end of the trip |
Expand
Clicking the Expand icon in the trips list opens an inline view with a mini map displaying the trip route. Use the “Review on the Main Map” button to open the full trip on the main map and access additional details such as safety events and driving behavior.
Quick Action Menu
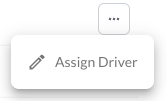
1. Assign a Driver
- A dialog box will appear showing a dropdown list of all registered drivers in the system.
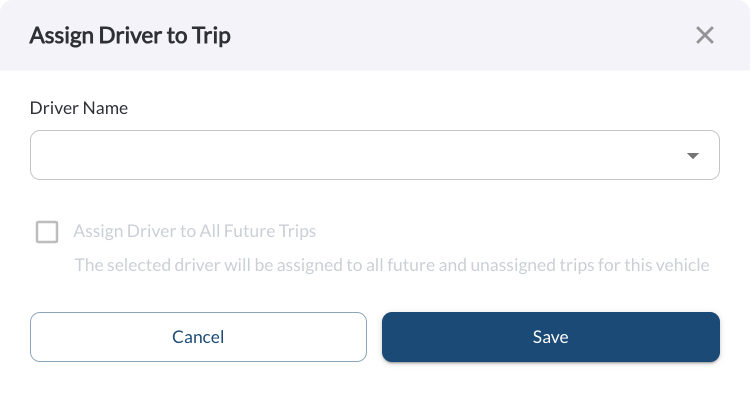
- Open the dropdown menu and choose the desired driver
- Check the box if you want to assign the driver to all future trips and unassigned trips for this vehicle.
- Click Save to confirm the assignment. The dialog box will close and the update will apply immediately.
Note
Ensure the driver is already registered in the system before attempting
to
assign them. If a driver is not listed in the dropdown, you can add them
through the Drivers page. For instructions on adding drivers, refer to
the
article
How to Add or Edit Drivers.
Filtering
Refresher Widget
Keep your data up to date by using the Refresher Widget. This allows you to reload the table data so you're always viewing the latest information. To learn more, read the article How to Set the Refresher Widget.
Custom Report Widget
Save time by using the Custom Report Widget to store report configurations with your selected filters, columns, sorting, and grouping. This allows you to quickly return to commonly used report setups and set a default configuration for easy access. For more information, read the article How to Use the Custom Report Widget.