The Trip Recording View allows you to watch video footage tied to specific points along a vehicle’s trip.
Steps to View a Recording
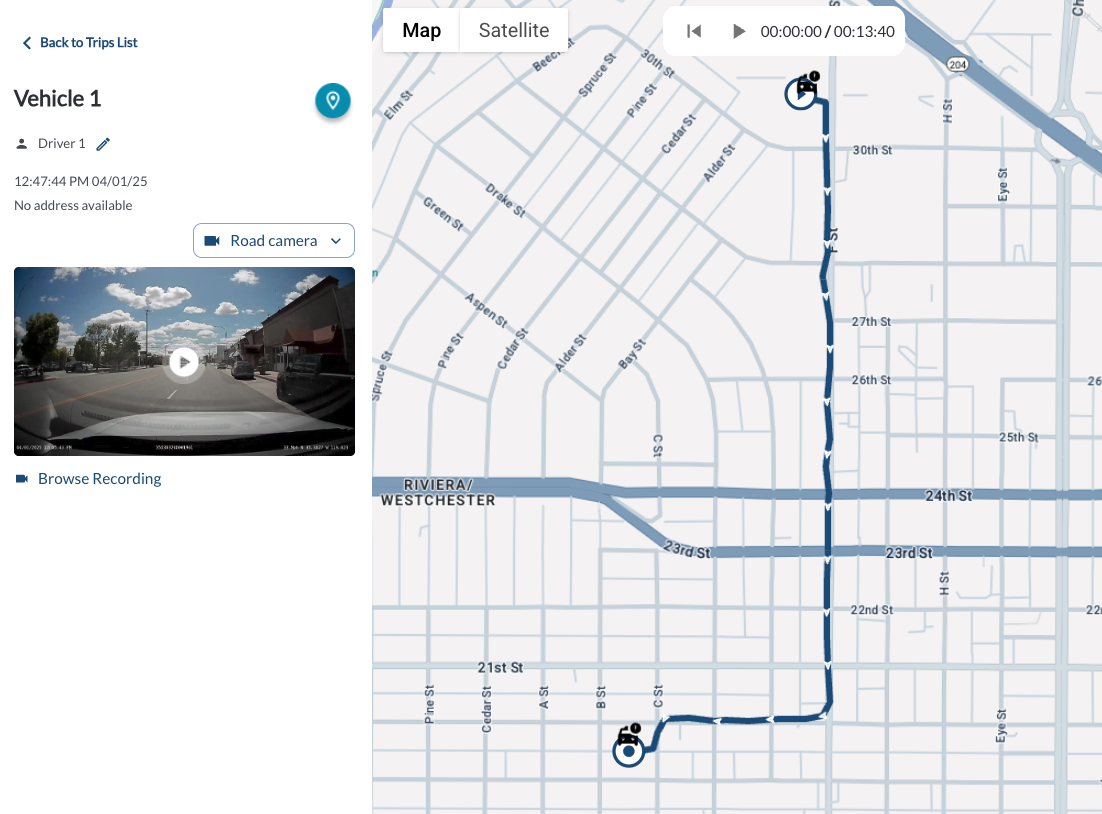
- Open the Vehicle Trips Panel on the left side of the Map View.
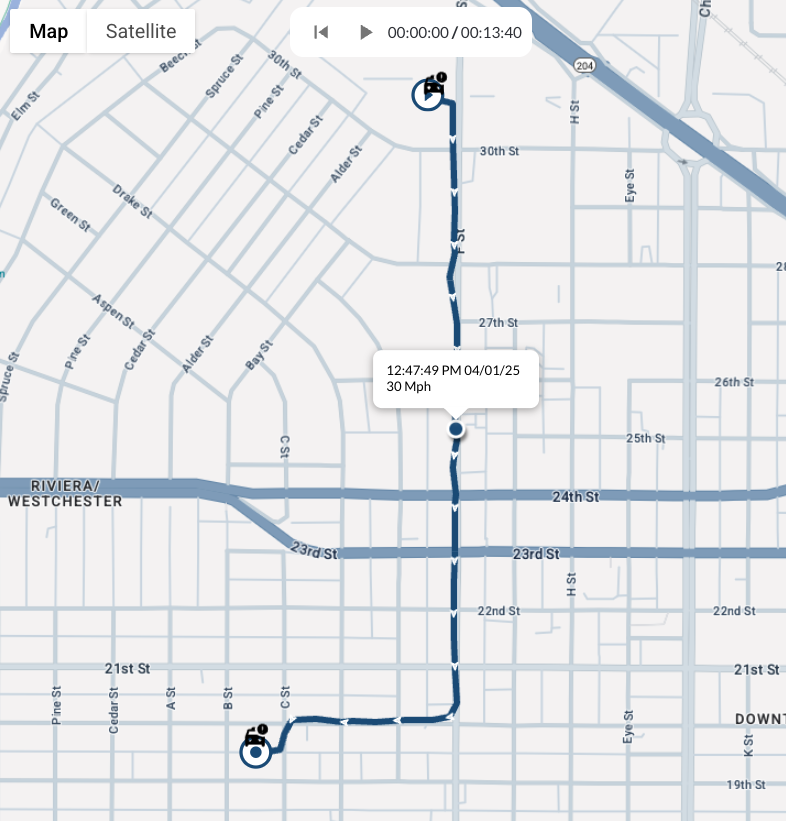
- Select a trip, and its path will be displayed on the map.
- Move your cursor along the trip path on the map, a tooltip will display the date, time, and MPH the vehicle was traveling at that location.
- Select a specific point on the trip path.
Warning
When a point is selected, the system sends a
wake-up command to activate the device, ensuring it
is awake
and ready to provide access to the recordings* stored on it. For more
details
about wake-up commands and their durations, refer to the article
Understanding device status
* Subject to available cellular network connectivity.
Exploring the Recording Panel
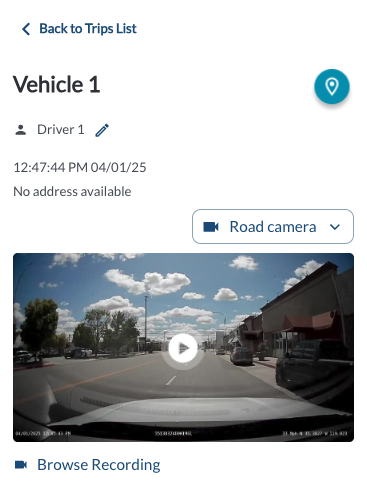
When you select a point on the trip, the Recording Panel will appear on the left side of the screen, providing the following details:
- Time and Date: Displays the timestamp of the selected point.
- Location: Shows the specific address of the selected point.
- Video Playback: Features a video player that automatically begins playing the recording from the selected timestamp. Recordings start at the chosen point and play for the default duration of 30 seconds. For more details on operating the video player, refer to the article How to Use the Video Player.
Recording Overlay Details
Recorded video displays a bottom overlay with key information such as the current GMT time, device IMEI, speed, and GPS coordinates. This gives you the full context for every recorded event.
Switching Between Cameras
If both the Road and Cabin cameras are enabled, use the toggle option in the video player to switch between views seamlessly.

Accessing the Recording Page
For advanced functionality, click the Browse Recording button. This will open the Recordings page with the selected timestamp preloaded. For more information, refer to the article Exploring the Recordings Page.